Got a new camera? Here’s how to take great photos with your bundled lens
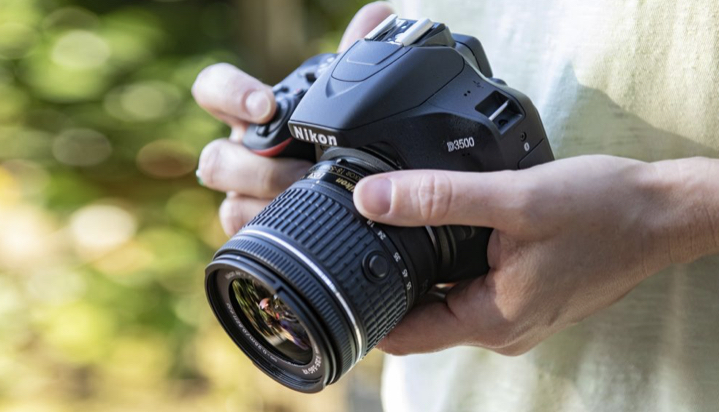
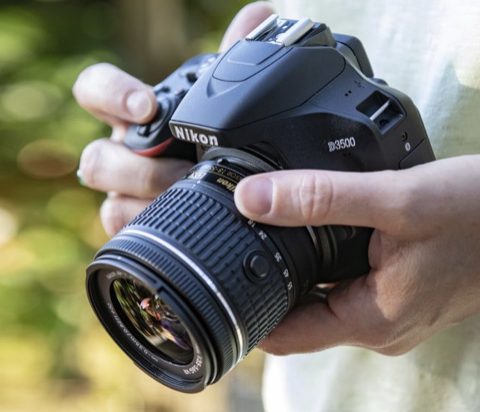
Whether you’ve just bought a new camera or been gifted a DSLR, there’s a good chance it came with a lens included in the box.
These are usually called ‘kit’ lenses, because they’re sold as part of a bundle with your new camera. While you can spend thousands on specialized glass, these affordable starter lenses are designed to get you shooting right away.
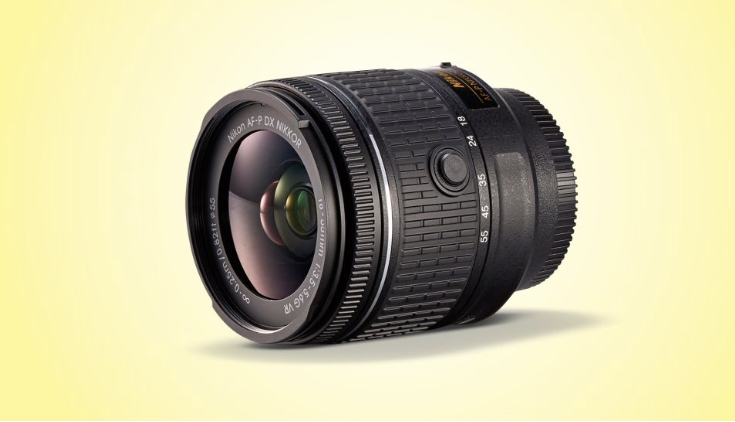
Most offer a generous range of focal lengths that cover the ‘standard’ zoom spectrum – from borderline wide-angle to short telephoto. With an entry-level DSLR, this usually takes the form of an 18-55mm lens. Things are a more diverse for mirrorless equipment, with popular focal ranges including 16-50mm, 15-45mm and 14-42mm (on Micro Four Thirds).
These inexpensive, jack-of-all-trade cylinders aren’t intended to trouble professional glass on quality. You won’t find maximum apertures wider than f/3.5-f/5.6 on a kit lens, for example, which limits your options when it comes to shooting in low-light and experimenting with depth of field.
All the same, kit lenses have plenty to offer those who are new to photography or aren’t ready to splash out more glass. Freebies they might be, but they’re also adaptable, easy to understand and can produce excellent results right out of the box – as these expert tips and tricks should help you discover.
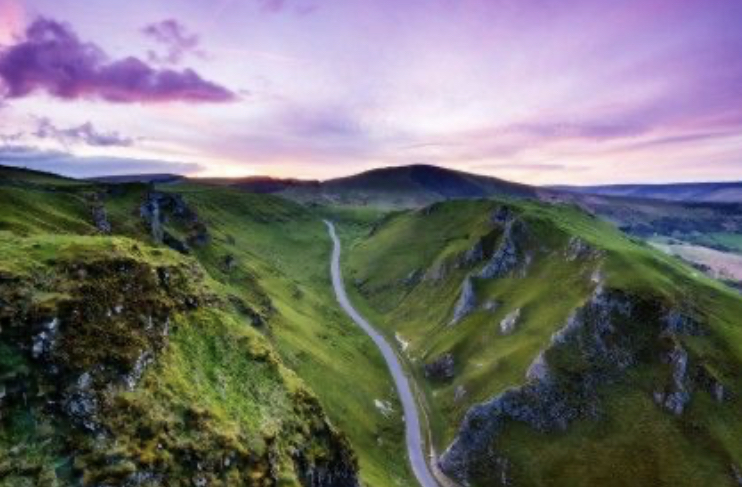
Shoot landscapes like a pro
Landscape photography is one of the most popular genres, and your kit lens is perfect for taking fantastic scenic shots. All you need to do to get started is to set the focal length to its widest setting. This will give you a wide field of view; perfect for taking in an entire scene.
The next thing you’ll need to do is set the camera to aperture-priority mode, which is done by turning the mode dial on your camera to to A (or Av on Canon cameras). This allows you to control the aperture and depth-of-field, while the camera automatically sets an appropriate shutter speed. Then set the aperture to the ‘sweet spot’ setting of f/11.
The sweet spot of the lens is the aperture at which a lens produces the best possible image quality and sharpness, and kit lenses perform very well at this setting or thereabouts. You can see for yourself by taking another shot at f/22 – the image will more than likely be a little soft.
As for your camera’s ISO, you want to keep this as low as possible – ideally around ISO100. If you’re going to be shooting at f/11 at ISO100, it’s likely that you’ll see the shutter speed drop, so to avoid camera shake we’d recommend using a tripod to keep your camera stable.
Now to set the focus. With your camera on a tripod, switch the camera to its Live View shooting mode, so rather than using the viewfinder you’re using the rear screen.
Zoom into the image on the LCD screen so you are looking at a position that’s one third of the distance into the scene and either move your focus area over it, or tap focus (available on some cameras). Zoom back out of the image on screen and start shooting – you should find that you’ll get your sharpest shots ever!
Master light with long exposures
Long exposures are an easy way to capture dynamic and dramatic images, and most kit lenses can deliver great results. The technique is also a good way to get to grips with the key settings and capabilities of your new camera.
The first step is to find a steady base, because any camera shake will be evident on an exposure of several seconds. A tripod is the easiest way to do this, but that doesn’t mean you can’t shoot without one. From walls to benches to books, any flat surface will work as long as it’s stable. Use the self-timer to avoid wobble from your finger pressing the shutter.
Next, switch to manual. You’re looking to balance aperture, shutter speed and ISO to get a crisp long exposure, which will vary depending on the scene that you’re shooting.

Daylight long exposures can work well, letting you blur motion – think smoothed seas and ghostly crowds – or use narrower apertures to bring out detail in landscape shots. Most kit lenses are capable of f/22, which can reduce sharpness slightly but works as a substitute for a neutral density filter. Keep ISO at 100 and experiment to find a shutter speed that doesn’t over-expose.
It’s at night where this technique really comes alive, from star trails arcing through the sky to streams of headlights in the city. Keep ISO as low as you can to avoid excessive grain, but high enough to do something – the sweet spot is usually around 400 – while the right aperture should marry detail with light. F/5.6 is a never a bad place to start.

Shutter speed depends on your situation. A cityscape at night could use just a second or two to bring out the zing in neon signs. Headlight trails might need 15-20s, while hills silhouetted by stars could require minutes – which means using bulb mode and keeping the shutter pressed, either by sticking something over the button or buying a remote release.
Experiment especially with framing, focal length and shutter speed. A wide shot at 18mm will emphasize the progress of objects from foreground to background, as you’ll see if you capture traffic from a bridge. Longer shutters speeds will rarely ruin the image, instead enhancing the brightness and detail. Trial and error is all part of the fun.
Take better portraits
When you’re taking portraits with your kit lens there’s a quick and easy way to instantly improve your shots. Turn the zoom ring until the lens is at the longest focal length, which on many kit lenses will be 55mm.
This focal length provides a comfortable distance between you and the model/subject, and reduces the risk of distorting their features by using a wide-angle focal length and getting too close.

Switch your camera to aperture-priority mode, which is usually represented by A or Av on the mode dial. Next,` set the aperture to f/5.6 because this is the maximum aperture setting you can use when the camera is zoomed in to 55mm. This aperture combined with the focal length will give you the best chance of blurring the background so it’s not distracting.
Now all you need to do is position your model a few metres in front of a plain background such as bushes, a fence or a wall etc. Then by moving position rather than zooming to frame your shot, you can compose your image and start shooting.

Get closer to the natural world

To shoot great close-up shots of flowers and insects, don’t you need a dedicated macro lens or other specialist accessories? The honest answer here is not necessarily. While a kit lens alone won’t get you all that close to the minutiae of the natural world, a simple and inexpensive accessory will transform it into a macro lens.
Reversing rings have a lens bayonet mount on one side, and a filter thread on the other. This allows you to screw the ring onto the front of your lens, and then to attach it to the camera backwards using the lens mount on the other side. One of the problems with using a reversing ring with a kit lens is that without taking advantage of a simple trick while the lens is mounted backwards, the aperture will remain wide open and depth-of-field will be incredibly shallow (there won’t be much of the subject in sharp focus).
How to use a reversing ring with Canon kit lenses
Mount the kit lens on your camera the normal way, with the reversing ring attached to the front, and in aperture-priority mode set the aperture to f/8. Now hold down the depth-of-field preview button and keep it held down while pressing the lens release button and twist the lens to remove it. The aperture will now be set at f/8, and you can re-attach the lens to the camera by the reversing ring. This trick may also work for other camera brands, but not Nikon kit lenses.
How to use a reversing ring with Nikon kit lenses
With a Nikon kit lens simply attach the reversing ring to the front of the lens, and attach the lens backwards using the bayonet mount on the reversing ring. With the rear lens element facing outwards you’ll see a mechanical lever – this controls the aperture. Now by moving the lever and holding it in position, around the centre of its travel, you will have aperture set to roughly f/8. The downside is that you have to hold it in position while shooting.
Setting the focal length of the lens to 18mm allows you to focus closer to the subject for a close to macro shot. While 55mm will allow you to focus further away for a close-up, but not macro shot. To focus simply move the camera backwards and forwards slightly until the image looks sharp in the viewfinder.

Take more control
To say that a kit lens is a jack of all trades master of none is a tad unfair. They are versatile and not aimed at one or two specific types of photography. But by simply taking a little more control and thinking about the camera and lens settings you’re using, they can be great for many subjects. Next time you’re out shooting give the techniques we’ve looked at here a try, and you’re sure to see an instant improvement in your landscapes, portraits and close-up photography.
source: Techradar
Comments are Disabled